Introduction to Kubeapps
Kubeapps is a web-based UI provides a complete application delivery environment that empowers users to launch, review and share applications. Kubeapps help organization to have their own application dashboard, allowing them to deploy Kubernetes-ready applications into your cluster with a single click.
Kubeapps allows to:
- Browse and deploy Helm charts from chart repositories
- Inspect, upgrade and delete Helm-based applications installed in the cluster
- Add custom and private chart repositories
- Secure authentication and authorization based on Kubernetes Role-Based Access Control
Assumptions and prerequisites
- Kubernetes Cluster of v 1.8.4 and above.
- Helm
- A locally installed copy of kubectl.
Why Helm is needed ?
Just like Apt / YM / Homebrew package manager, Helm is an another package manager that streamlines installing and managing Kubernetes applications in a K8S environment. It uses packaging formats called Charts which describes a set of Kubernetes resources. A single chart can be used to deploy simple single tier application or something complex, like a full web app stack with HTTP servers, databases, caches, and so on.
Before proceeding Kubeapps lets install Helm
- Download your desired version
- Unpack it (
tar -zxvf helm-v3.x.x-linux-amd64.tar.gz) - Find the
helmbinary in the unpacked directory, and move it to its desired destination (mv linux-amd64/helm /usr/local/bin/helm) - Run the command helm version to verify the installation
![]()
Installing Kubeapps
As now we have our prerequisite ready, lets go ahead and install Kubeapps. You can either leverage Len : The Kubernetes IDE or you can directly install using command line. In both the cases, Helm will be used to install Kubeapps. Lens provides a nice interface to deploy application using Helm charts,
In case you don’t have Lens installed, please follow my another post “Manage, Monitor & Troubleshoot your Kubernetes Cluster using Lens, the Kubernetes IDE.”
In this blog, I will be using Lens to deploy KUBEAPPS
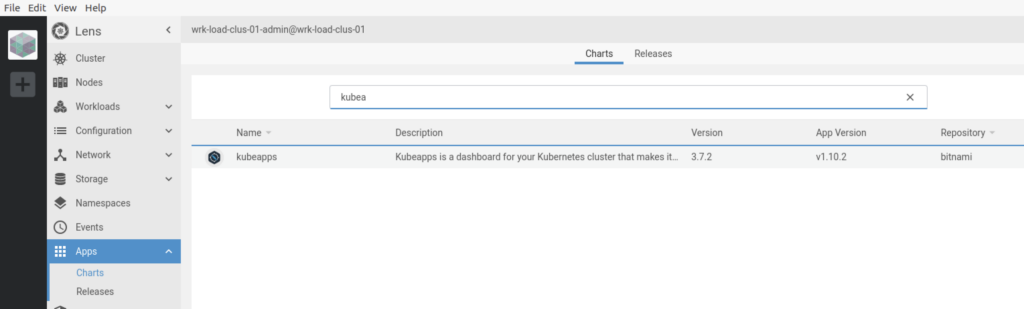
Step 1. Open Lens application and Click on Charts, search for Kubeapps
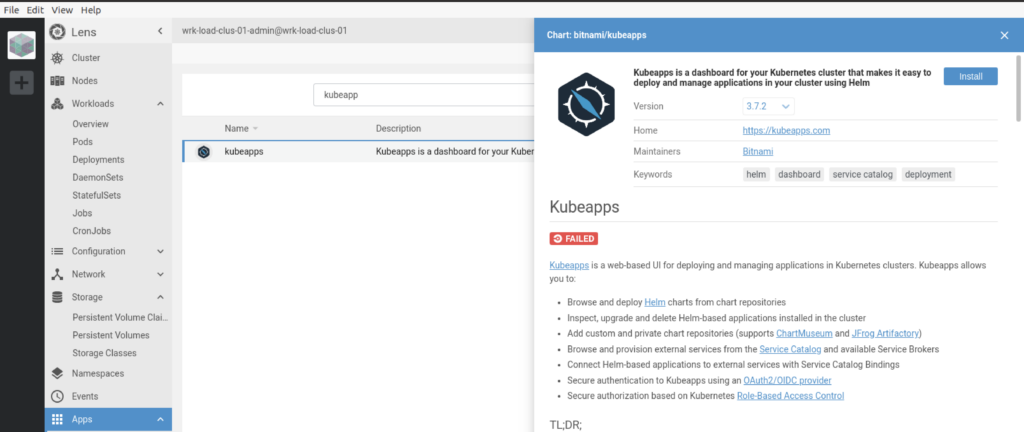
Step 2 : Click on Kubeapps and click on Install
Step 3 : As we are using Helm 3.x make sure you change the parameter useHelm3: false to true in the script shown. Post changing the useHelm3:true click on Install
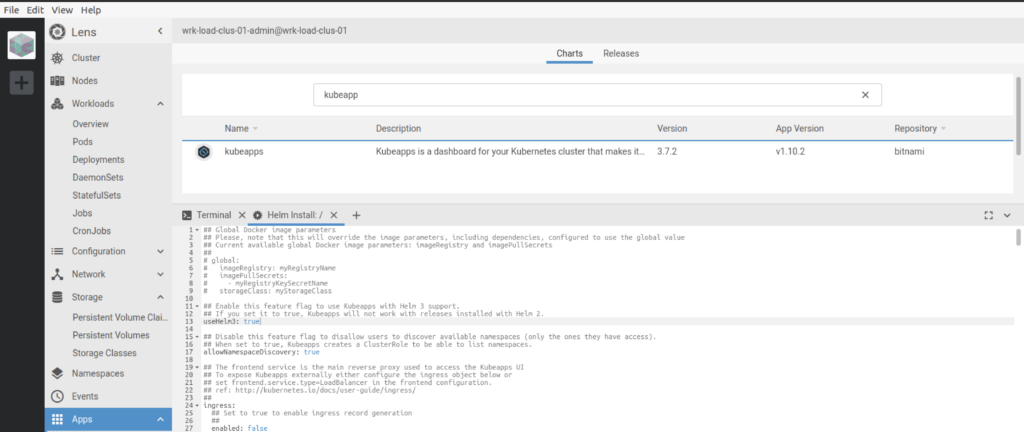
It would take some time to get the all pods deployed

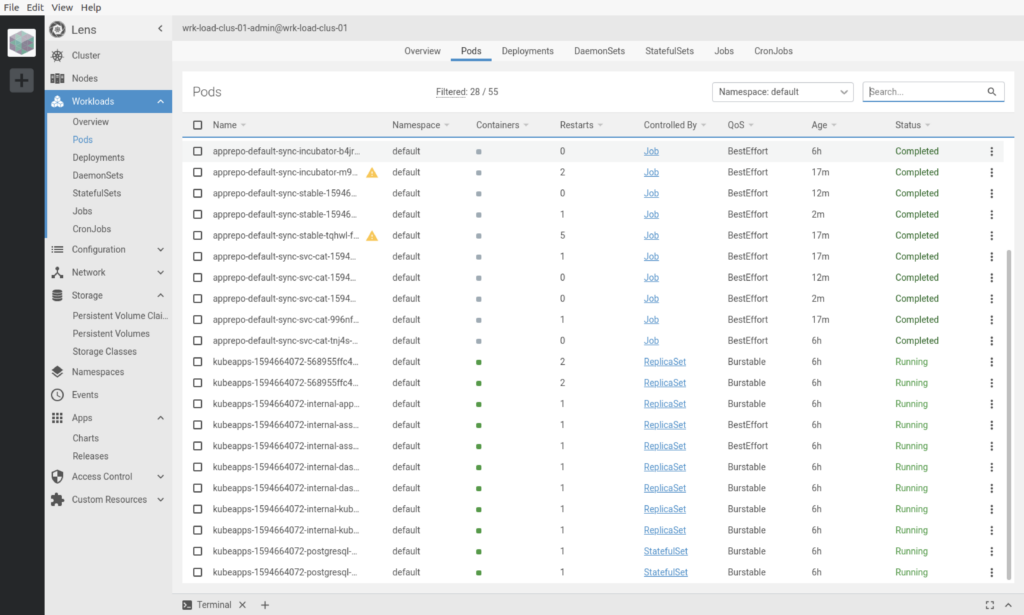
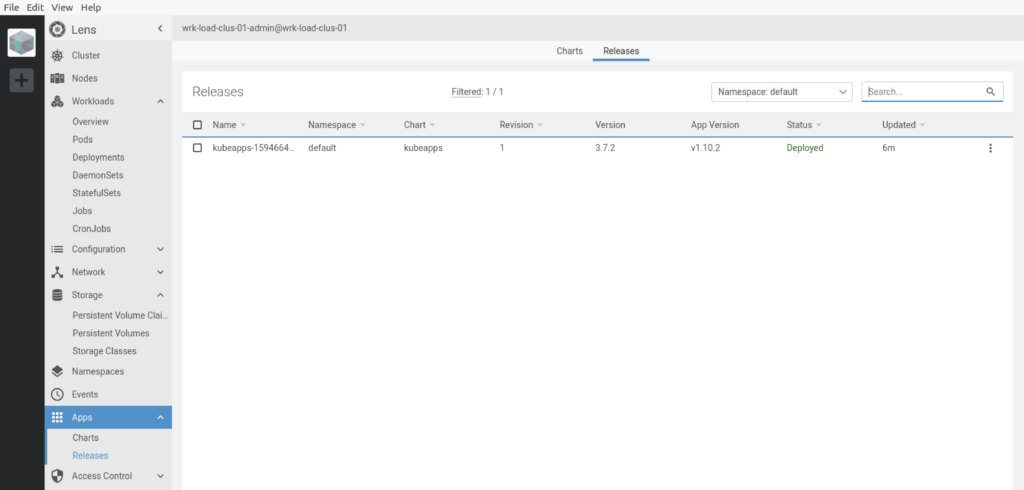
Step 4 : Once successfully deployed, the release apps will be visible under Apps –> Releases
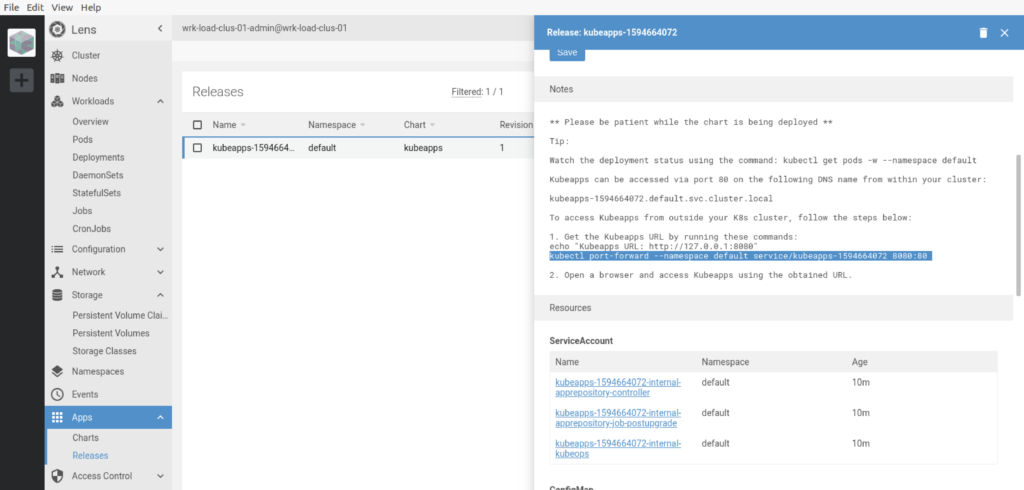
Step 5: Select the released application and follow the instruction to setup port forwarding to access KUBEAPPS web interface from your local computer.

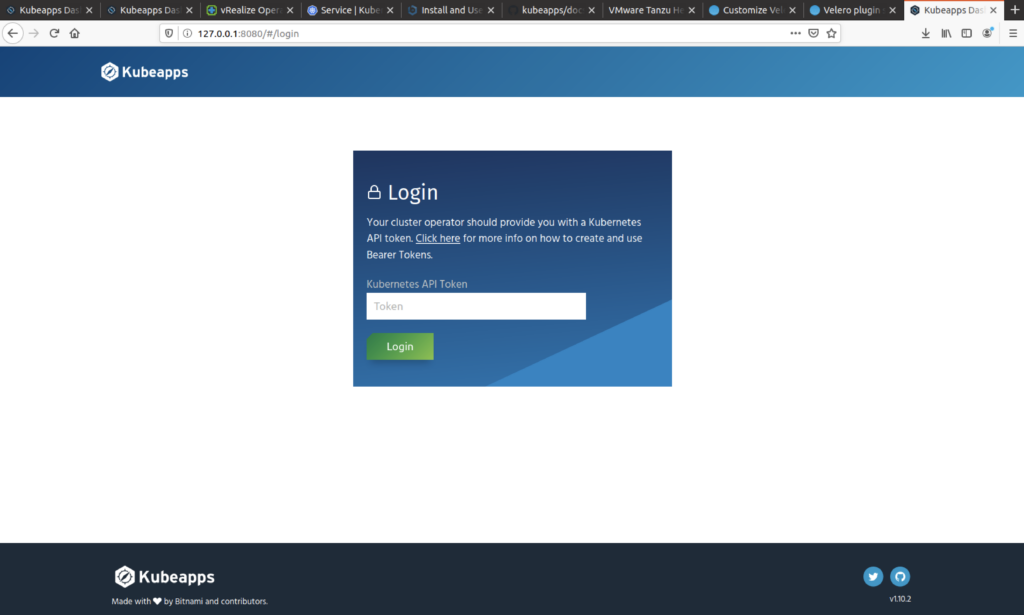
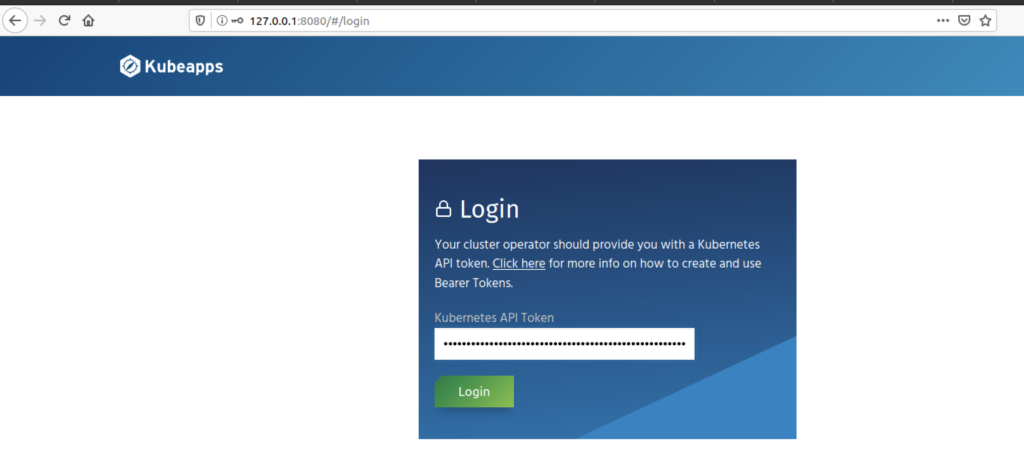
Creating Kubernetes API Token
For trying out Kubeapps, access to the Dashboard requires a Kubernetes API token to authenticate with the Kubernetes API server as shown below, but for any real installation of Kubeapps you should instead configure an OAuth2/OIDC provider.
kubectl create serviceaccount kubeapps-operator
kubectl create clusterrolebinding kubeapps-operator --clusterrole=cluster-admin --serviceaccount=default:kubeapps-operator

kubectl get secret $(kubectl get serviceaccount kubeapps-operator -o jsonpath=‘{range .secrets[*]}{.name}{“\n”}{end}‘ | grep kubeapps-operator-token) -o jsonpath=‘{.data.token}‘ -o go-template=‘{{.data.token | base64decode}}‘ && echo
Copy the key and provide an an input KUBERNETES API TOKEN window.

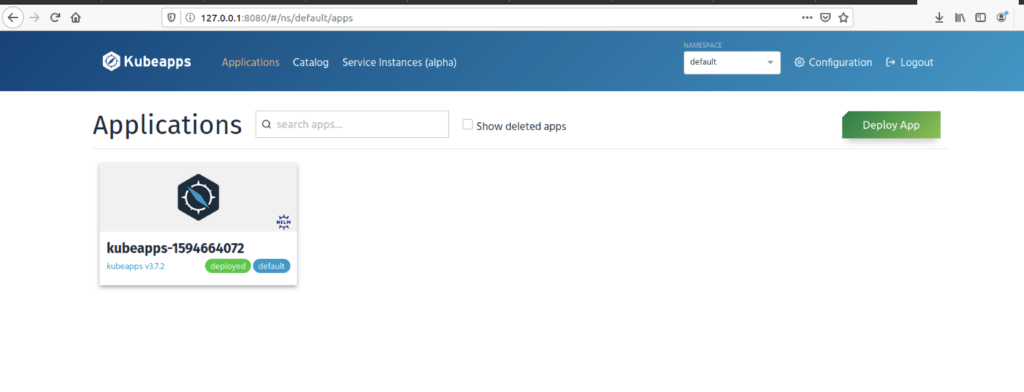
Once authenticated, you can access the kubeapps console. Now you can leverage kubeapps to deploy applications to you kubernetes cluster.
Now, under catalog you can see the list of available apps you can deploy using kubeapps.

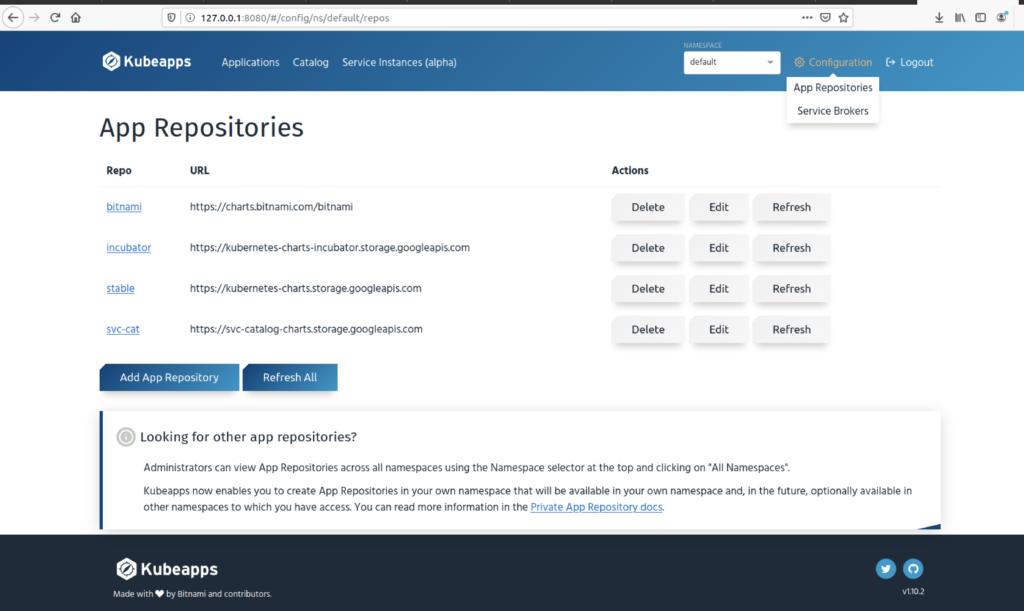
In you want to add any specific Helm repository to the list, you can do using APP REPOSITORIES under CONFIGURATION
Deploying wordpress using kubeapps
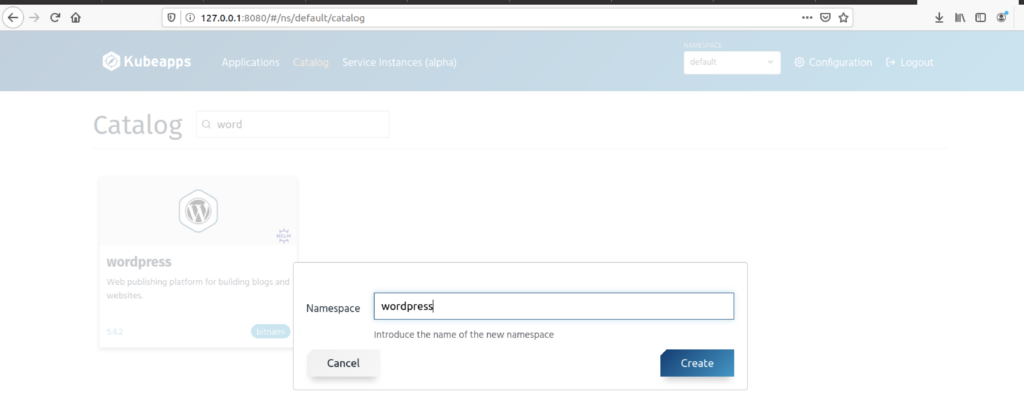
Now we have kubeapps configured, lets deploy our fist app using kubeapps. Search for the application under catalog. If you wish to get your application deployed under any specific namespace, you can choose from the list. You can also create a new namespace from kubeapps console and deploy your application there.
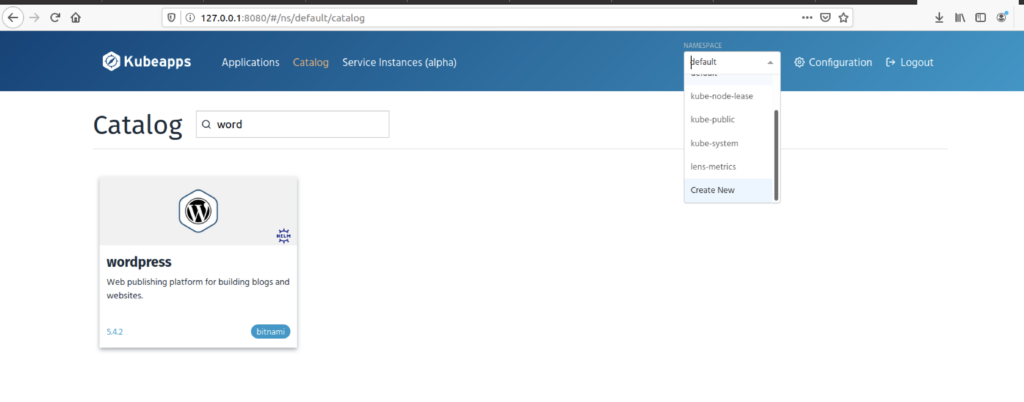
Lets create a new namespace
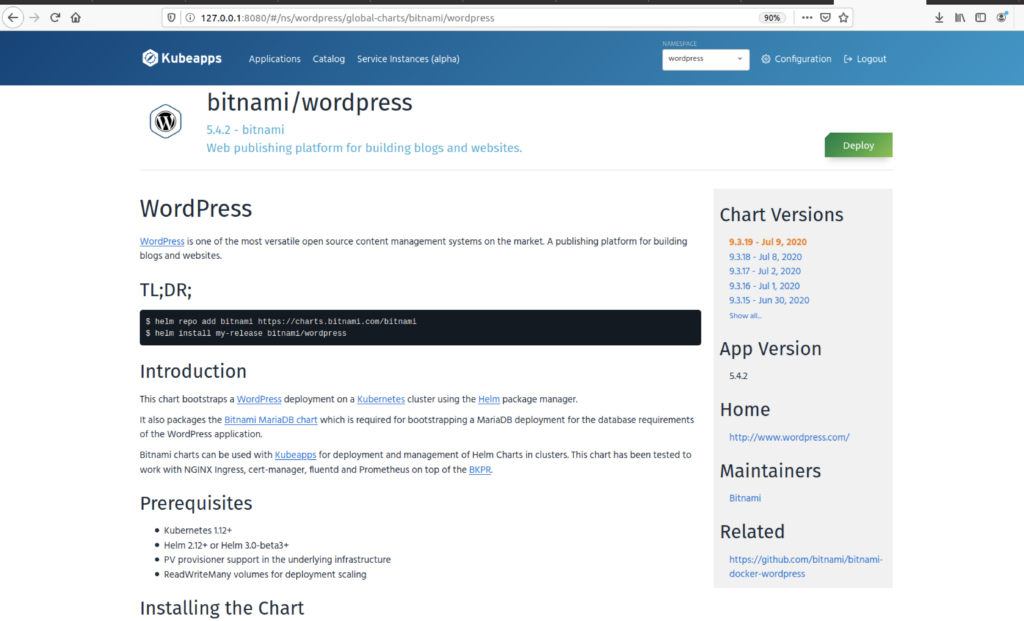
Click on WordPress application and hit Deploy
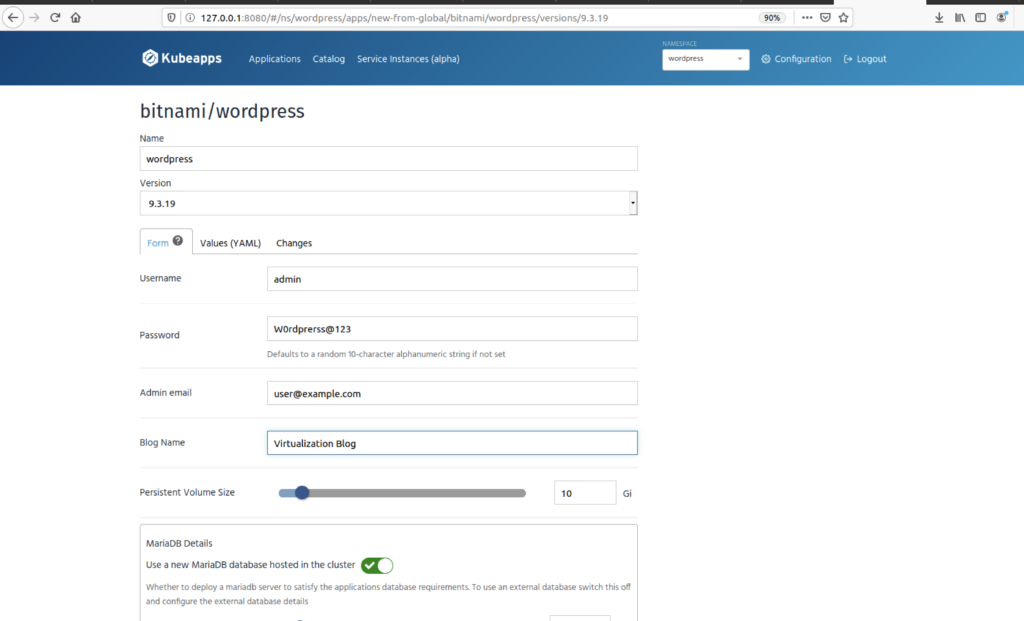
Do the necessary changes as per your organization requirement.
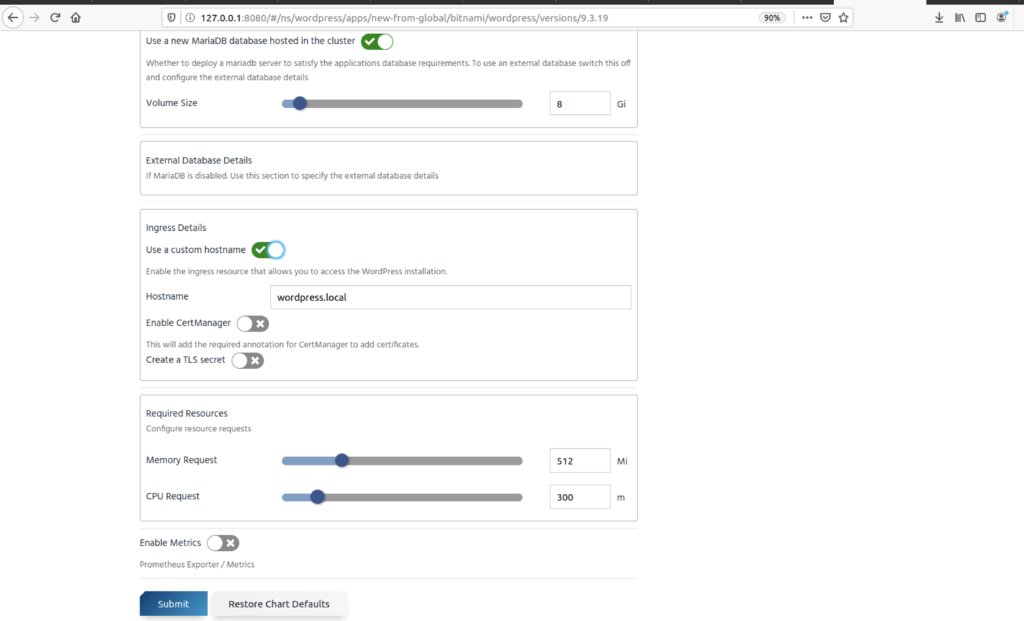
Navigate to Bottom and click on submit.
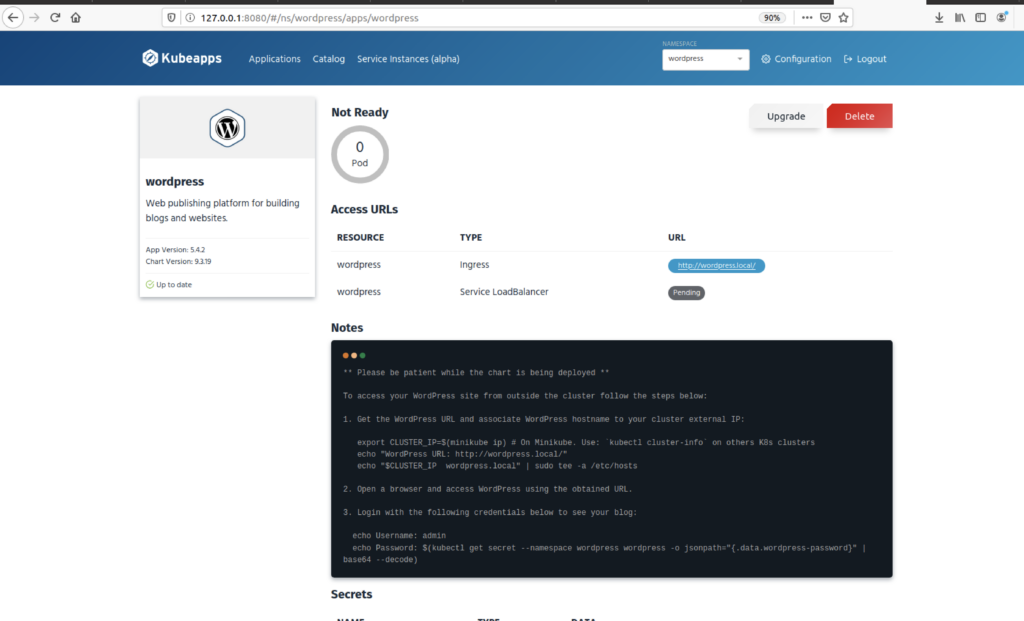
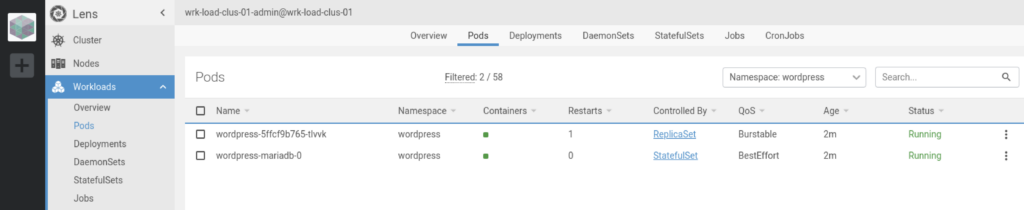
Wait for the time, the both the pods status change to RUNNING


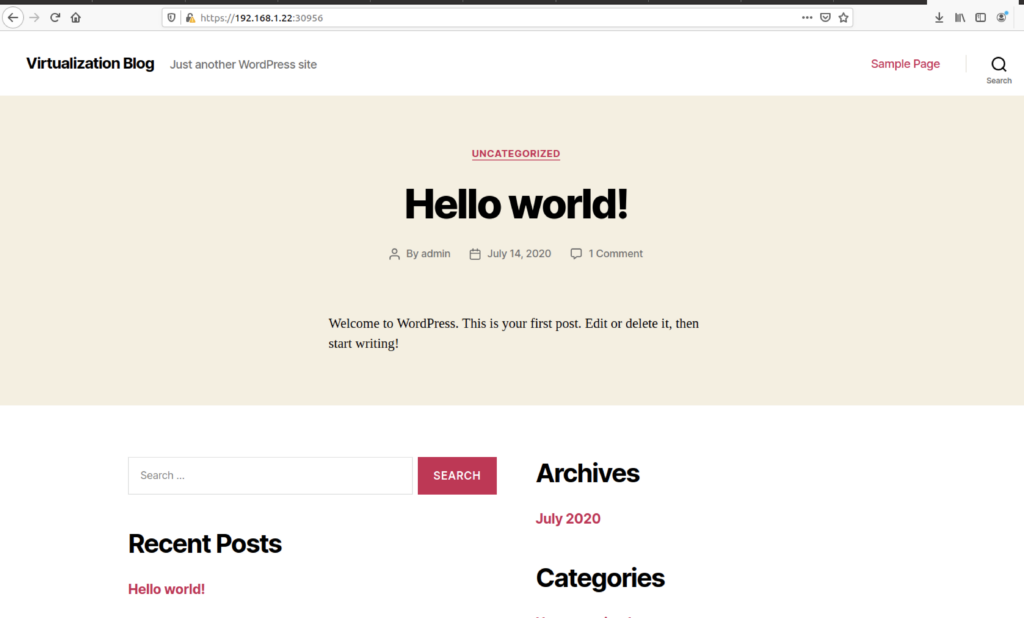
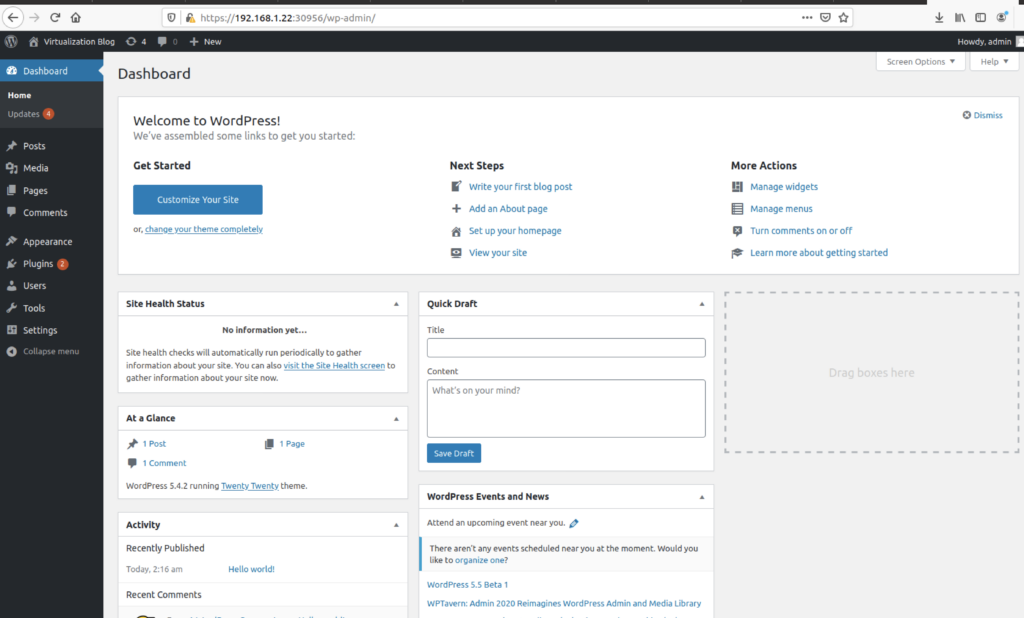
As we don’t have load balancer configured for pods, we can directly access the website accessing IP address of worker node along with the port number of wordpress.
Conclusion
This concludes the deployment of Kubeapps in a kubernetes cluster along with the WordPress application using Kubeapps. Kubeapps provides a web-based UI with the complete application delivery environment that empowers users to launch, review and share applications. Hope this will be informative for you, please do share if you find worth sharing it.