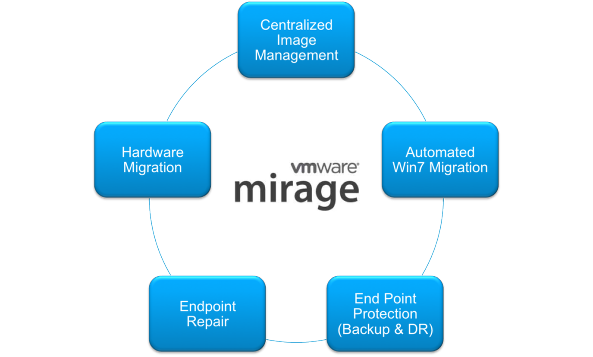
Horizon Mirage Management Server Installation
Prep Work
- Create Windows Server 2012 R2 or above machine
- Join the new machine to the domain
- Install .NET 3.5 on the new machine
- Create Mirage administrative user in Active Directory
- Create Mirage administrative group in Active Directory
- Add the Mirage administrative user to the local Administrators group on the Windows Server 2012 machine
- Grant dbcreator rights to the Mirage administrative user on your Microsoft SQL Server instance
- Add the min of 250 GB disk for the Mirage Single Instance Store.
Installing VMware Mirage Management Server
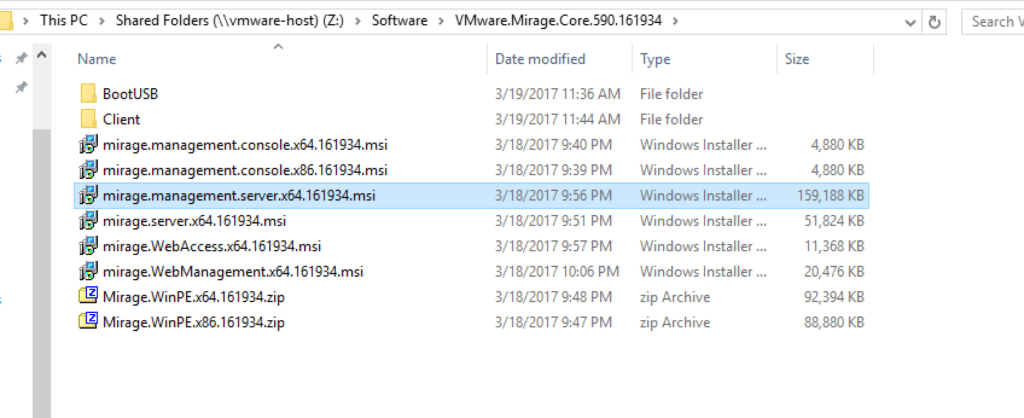
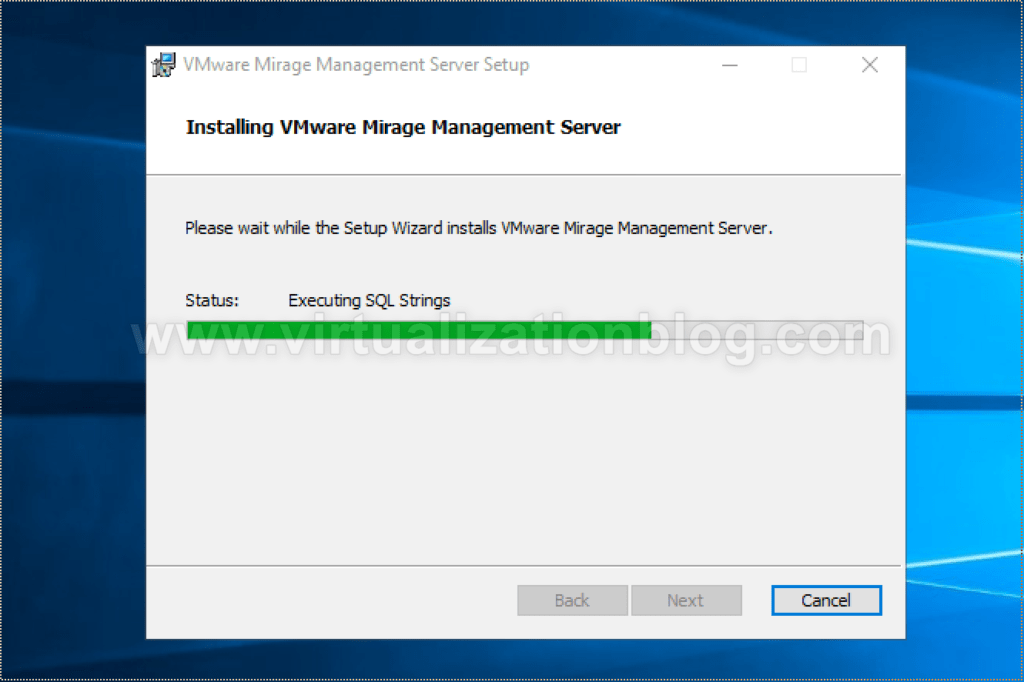
Post pre-work completion, Let’s continue with the setup of VMware Mirage server VM. Execute mirage.management.server.x64.161934.msi using the user having required rights on the database server & the Windows Server
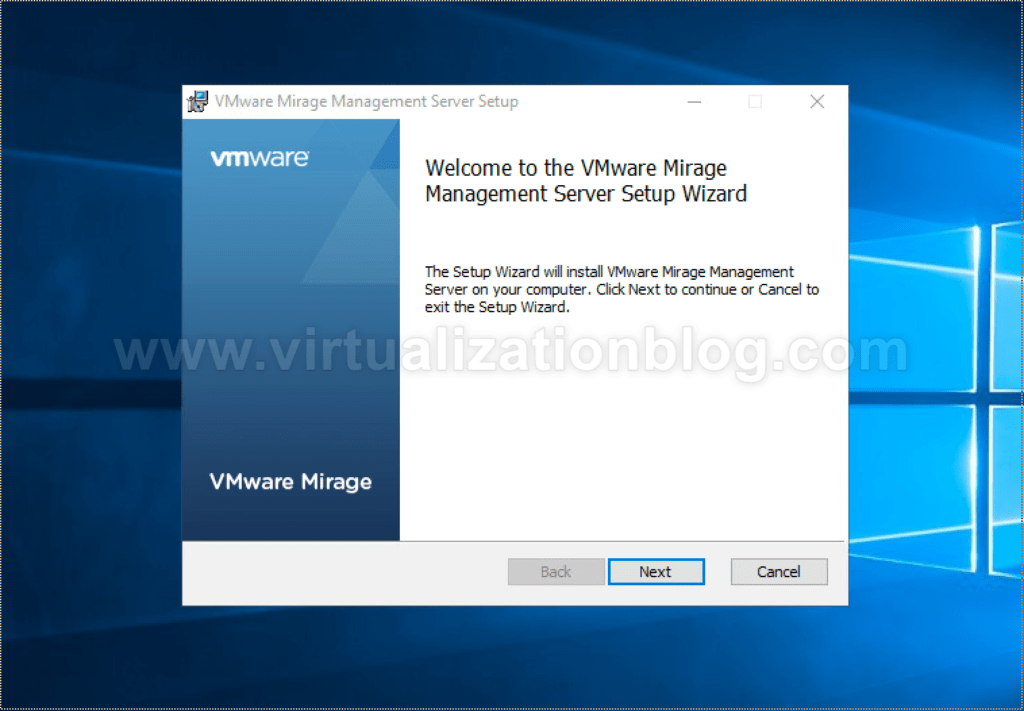
Click Next to continue
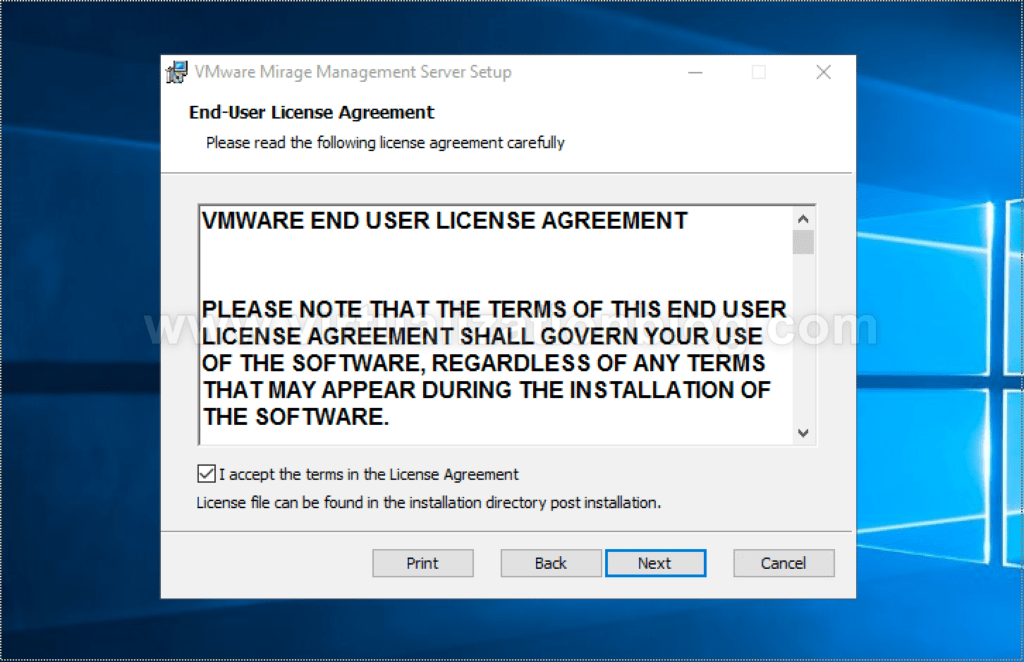
Accept the EULA and click Next
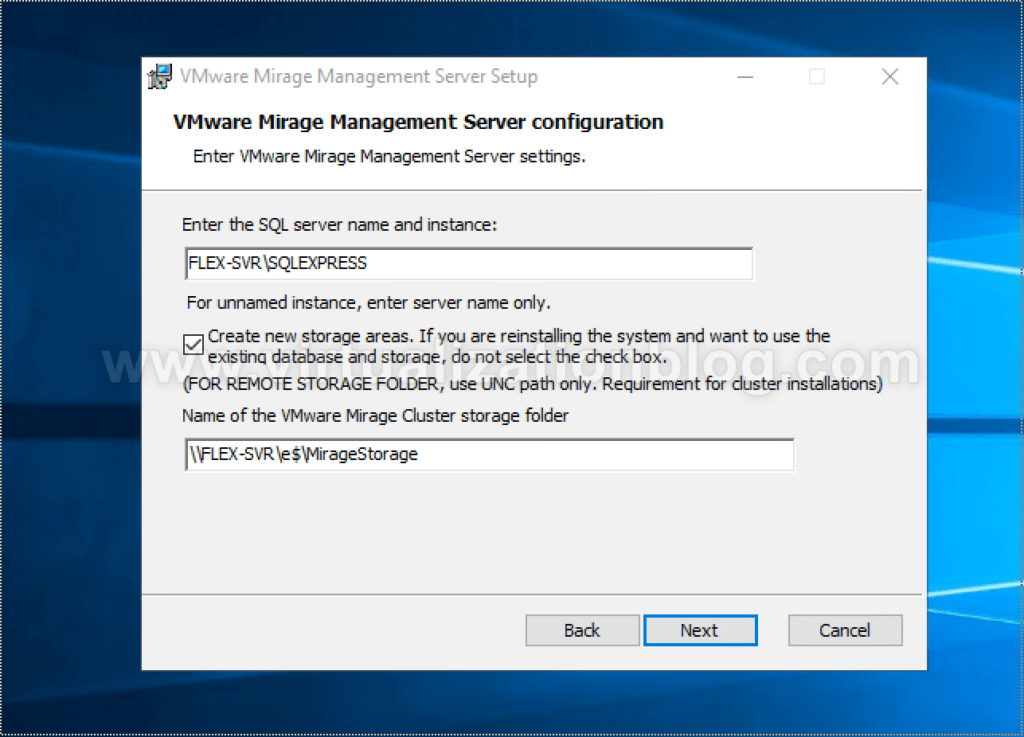
Provide the SQL server instance name with server details. As you are installing the first server, choose “Create new Storage areas”
Summary
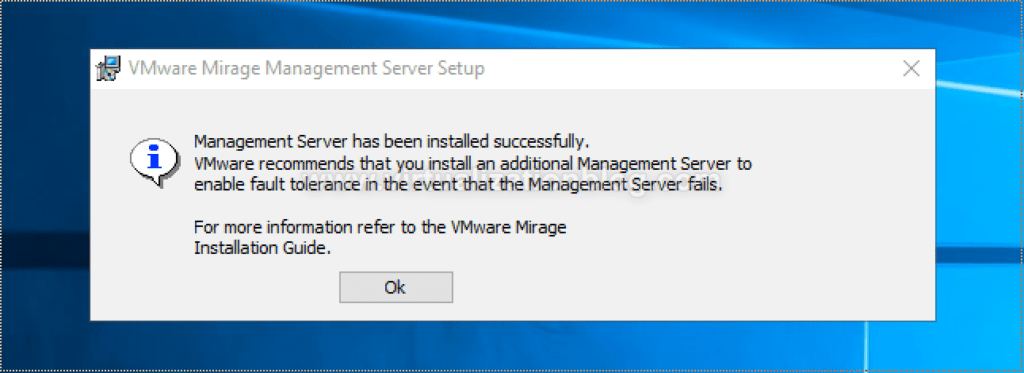
The Mirage Management server is installed. Next in the series is the Horizon Mirage Server installation. I hope this will be informative for you. Thanks for Reading!!. Be social and share if you find worth sharing it.